Studio Apartment Layout Ideas: How to Zone One Room
A studio works when one room reads as three: somewhere to sleep, somewhere to sit and somewhere to eat or work. Here is how to zone it with furniture, rugs and light.
In this article
- What you need to know first
- Step 1: Draw the room and the path
- Step 2: Place the bed first
- Step 3: Divide sleep from living
- Step 4: Mark each zone with a rug
- Step 5: Light each zone separately
- Step 6: Choose furniture that does two jobs
- Common mistakes to avoid
- What to do next
- Three layouts that work
- Furniture that suits a studio
- Frequently asked questions
What you need to know first
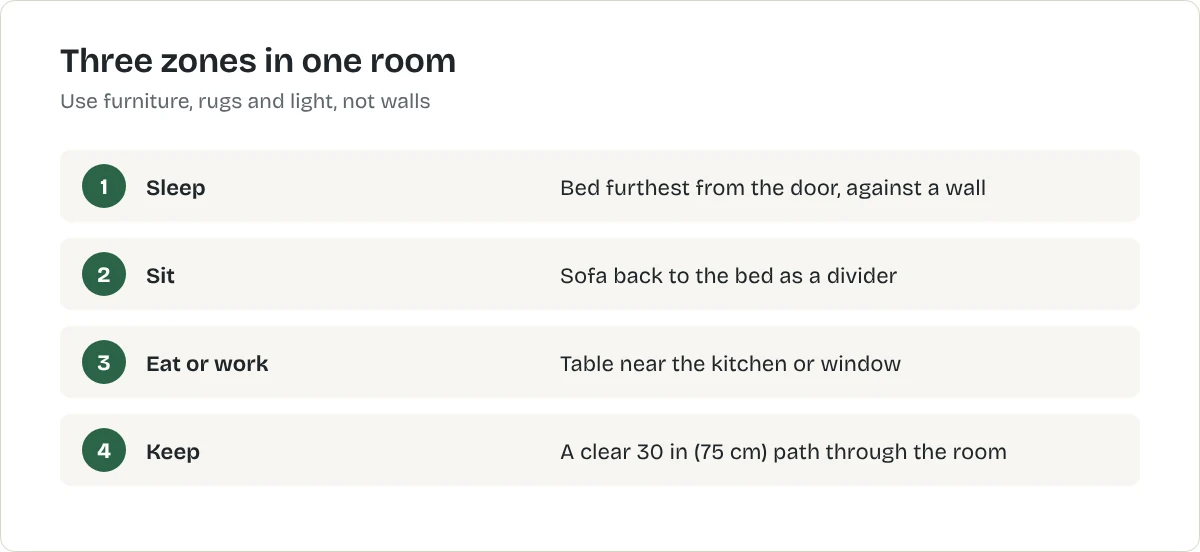
A studio feels cramped when everything is pushed against the walls and the room reads as one space with a bed in it. It feels larger when it reads as three zones: sleep, sit, and eat or work. You make zones with three tools: furniture placement, rugs and light.
Step 1: Draw the room and the path
Sketch the room with the door, windows, radiators and sockets. Mark the path from the door to the kitchen, bathroom and bed; keep it about 30 inches (75 cm) wide. Everything else is placed around it. The room size calculator helps with the measurements.
Step 2: Place the bed first
The bed is the largest item and the most private. Put it at the end of the room furthest from the front door, ideally against a wall so it does not sit in the middle. If the room is long and narrow, the far end is the obvious place.
Step 3: Divide sleep from living
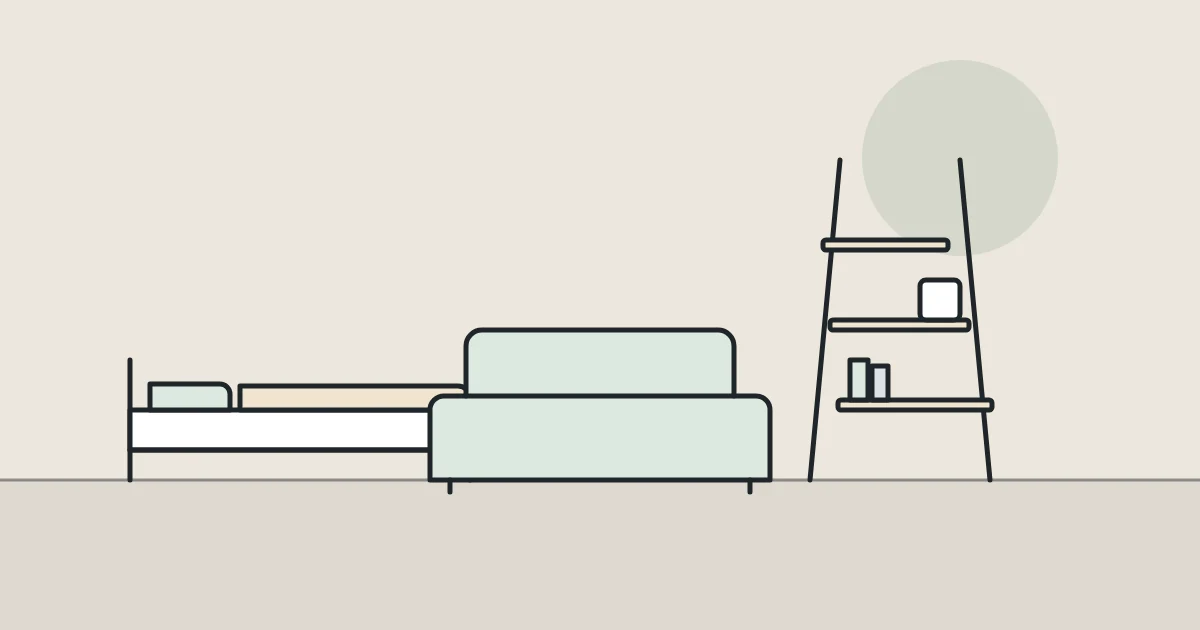
- Turn the sofa's back to the bed. It becomes a divider and the living area faces away.
- Use an open bookcase at right angles to the wall. It screens the bed and stores things, while light passes through.
- A curtain on a ceiling track or tension rod closes the bed off at night.
Best for separating a bed from the living area in a studio
Open bookcase used as a room divider
A freestanding open-backed shelf unit that splits a room while letting light through. This is a type of product, not one model. The button opens the retailer's results for it, so compare a few before you choose.
What we like
- Divides a room and stores things at once
- Open back keeps light moving
- No fixings needed if it is low and stable
What to know
- Tall units need anti-tip fixing
- Both sides are on show, so keep it tidy
- Heavy to move once loaded
United States
United Kingdom
Not listed with our CA retailers yet.
Not listed with our AU retailers yet.
Research-based recommendation: we have not tested this product ourselves. How we evaluate products. Details checked October 2026.
Tall dividers need anti-tip fixing; ask your landlord or choose a low unit.
Step 4: Mark each zone with a rug
A rug under the sofa and coffee table says "living room". A smaller one beside the bed says "bedroom". Different rugs make the zones obvious without a wall.
Step 5: Light each zone separately
One ceiling light makes the whole room one space. A floor lamp by the sofa, a bedside lamp and a light over the table give each zone its own light, and you can switch off the bed end while you are up. See best apartment lighting.
Step 6: Choose furniture that does two jobs
A sofa bed if guests stay often, a storage bed or ottoman, a drop-leaf table that is a desk by day. Best sleeper sofas, best storage beds and best compact dining tables compare the options.
Common mistakes to avoid
- Everything against the walls. Floating the sofa can make the room feel larger.
- Furniture too big. Measure before you buy, including the route in; see how to measure for a sofa.
- Tall solid dividers that block the window light.
- No storage plan. Clutter undoes any layout; start with under the bed.
What to do next
Tape the plan on the floor and live with it for a day before moving anything heavy. For working at home in a studio, see small apartment home office ideas.
Three layouts that work
- Long, narrow studio: bed at the far end behind a low bookcase, sofa facing away from it, table by the window near the kitchen.
- Square studio: bed in a corner, a rug and sofa marking a living square diagonally opposite, desk or table along the remaining wall.
- Studio with an alcove: bed in the alcove with a curtain across it; the main room becomes living and dining.
Try the layout with painter's tape on the floor before moving anything heavy.
Furniture that suits a studio
Choose pieces that look good from every side, because there is no back wall to hide behind. A sofa with a finished back, a bookcase open on both sides as a room divider, and a bed with storage underneath all earn their space. Keep large pieces low so sight lines across the room stay open.
Frequently asked questions
Where should the bed go in a studio?
Usually furthest from the front door, against a wall, so it is the private end of the room. A low bookcase or curtain can screen it.
How do I divide a studio without walls?
Use furniture with an open back, rugs to mark each area, and separate lighting for each zone.
Should a sofa face the bed?
Better not. Turn the sofa's back to the bed, so it acts as a divider and the living area faces away from the sleeping area.